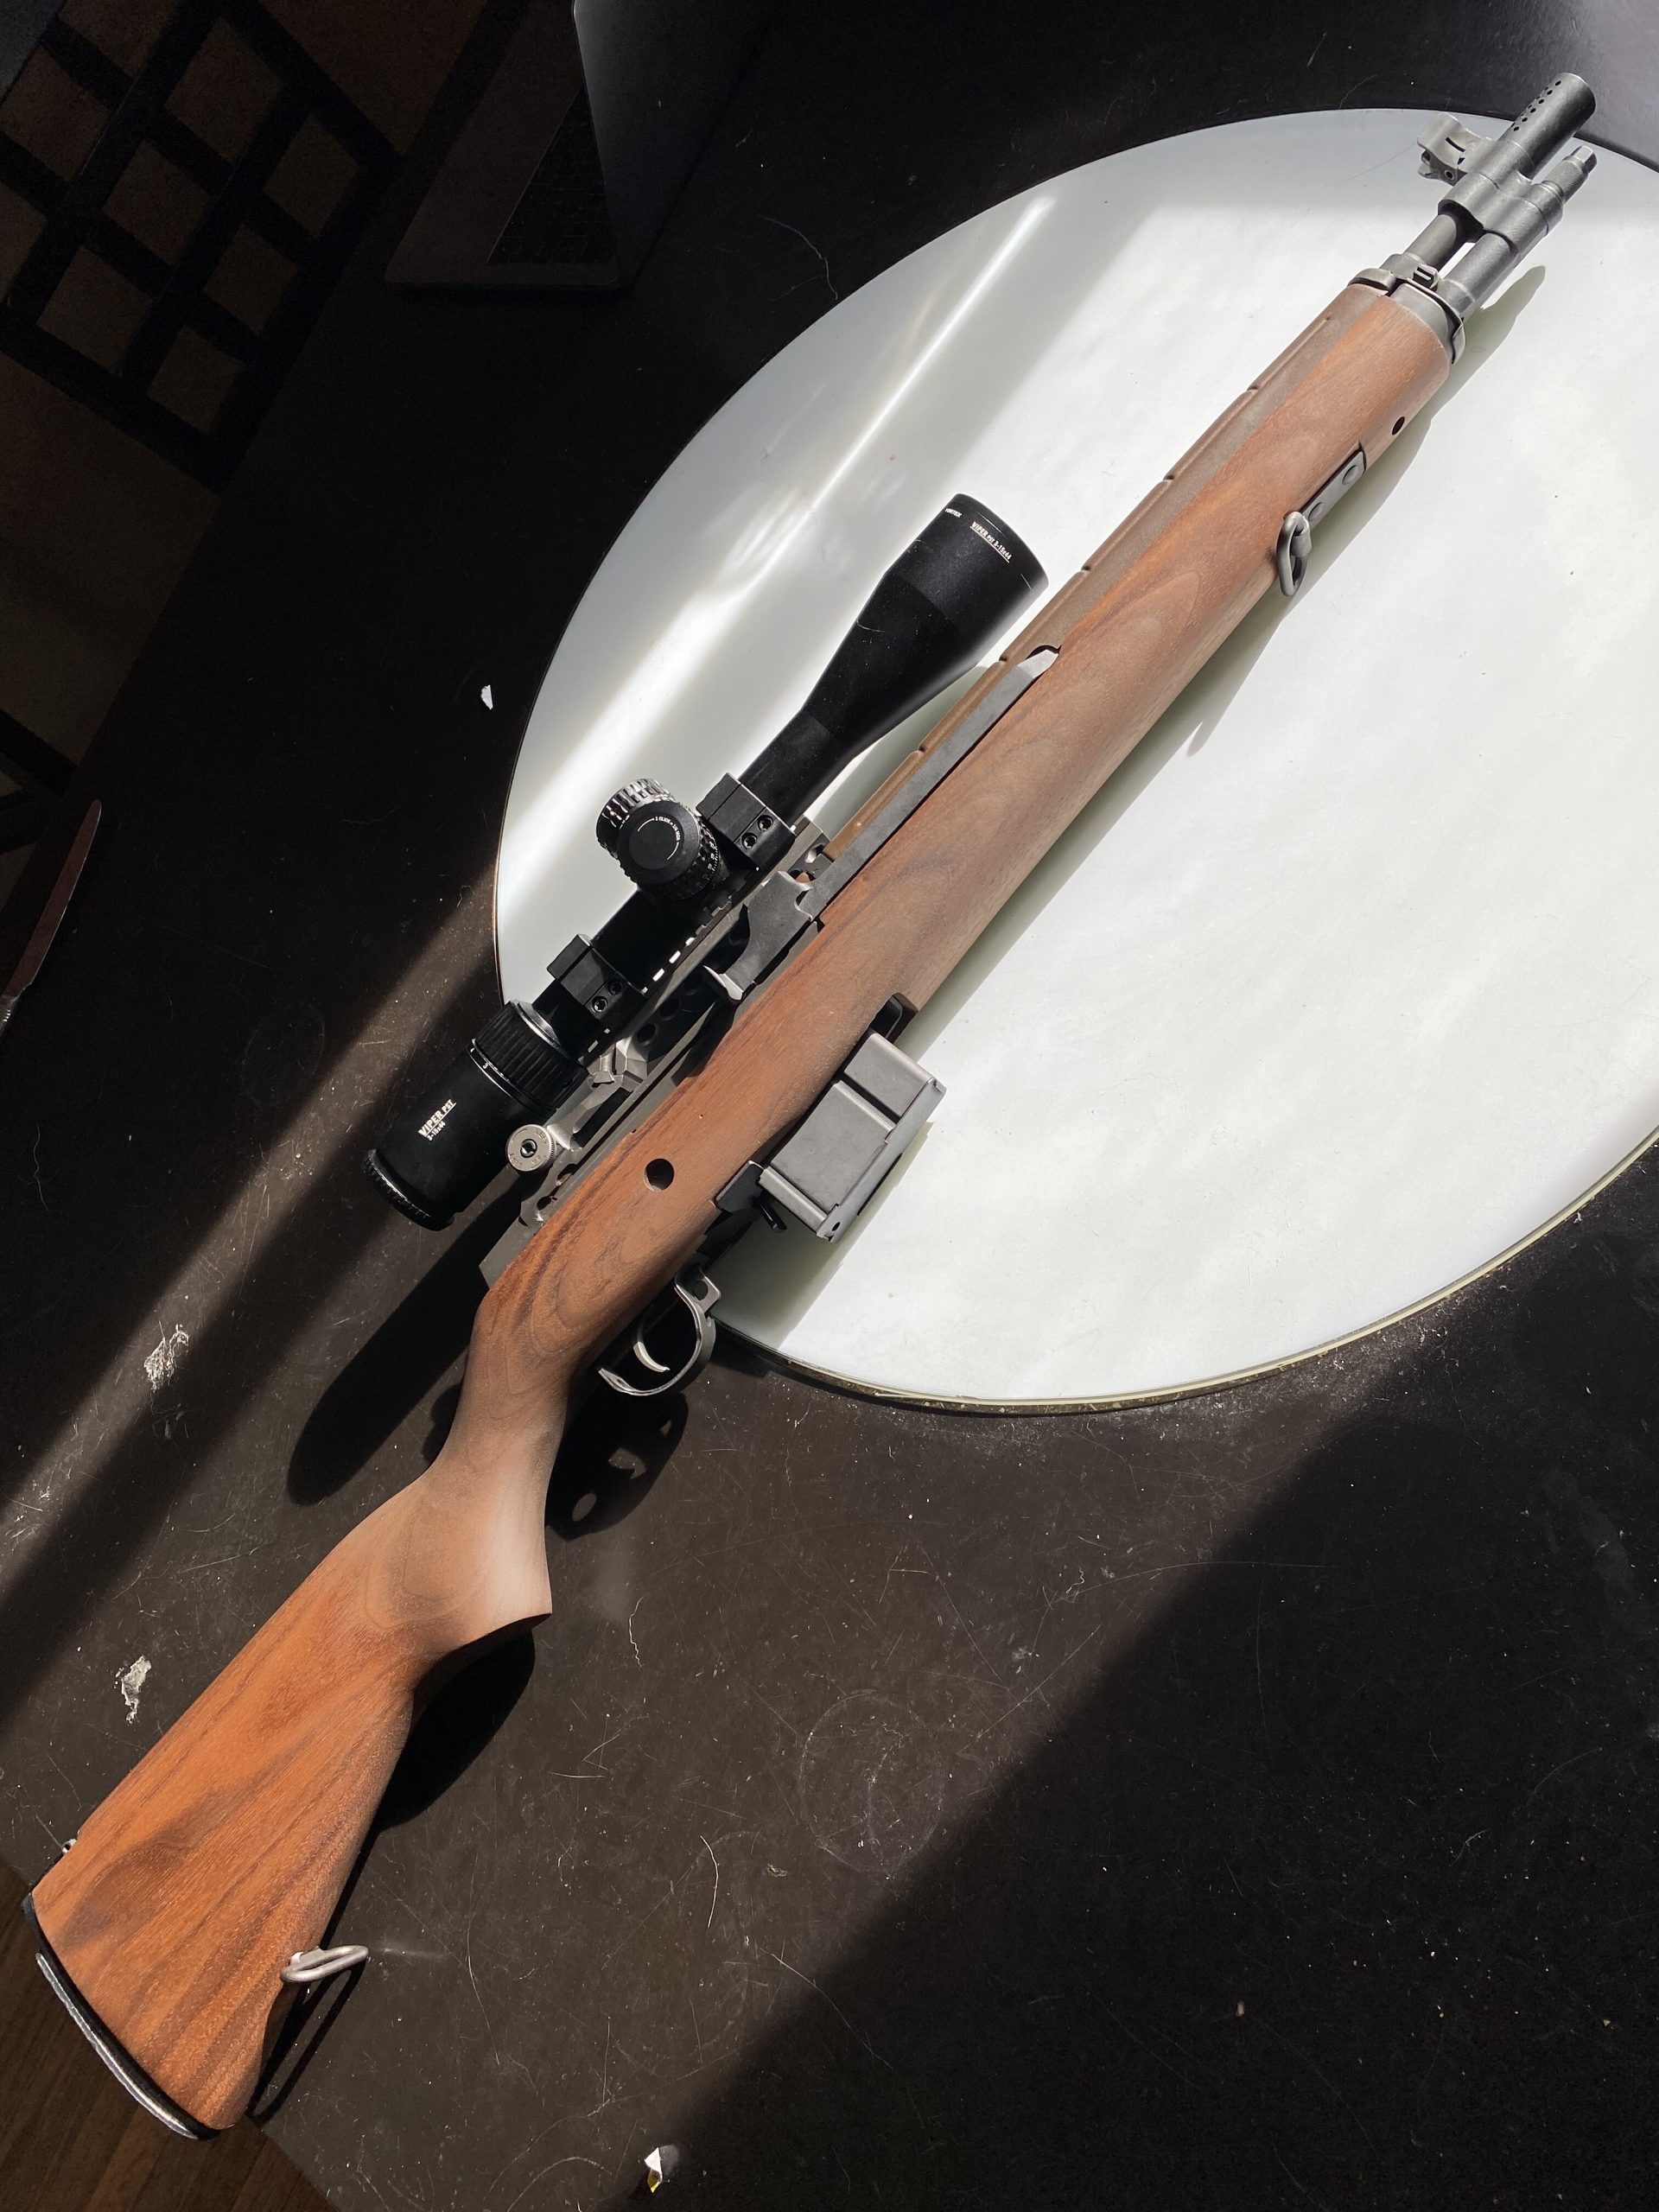
Love it or hate it – those are the only two options that exist with an M1A or any other M14 clone. You either love it or hate it, no in-between. But we’re not here to argue about whether the M1A (or any other M14s) are good or bad. Instead, we’re going to take a look at how to clean one of these walnut warriors.
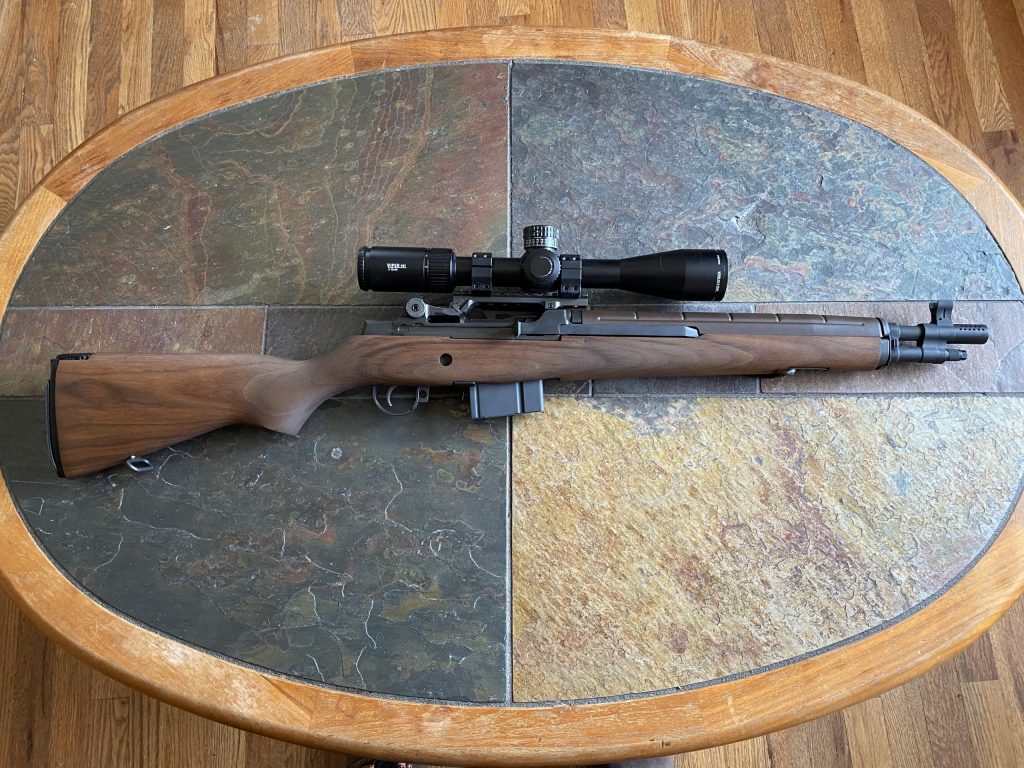
M1A (M14) Cleaning Guide
M1A Cleaning (or M14 cleaning) doesn’t actually require much disassembly. For one, you don’t even need to remove the barreled action from the stock for regular cleaning. In fact, manufacturers including Springfield only recommend removing the barreled action for a full cleaning every thousand rounds or more.
That’s because fully disassembling the rifle can lead to undue wear on the stock. Each time you disassemble and reassemble the rifle, the stock will hold less tightly onto the barrelled action. This is particularly true with wooden stocks – synthetic ones are much more durable.
As a result, we’re only going to look at how to perform routine maintenance on an M1A or another M14 clone. In the future, we’ll go over how to fully disassemble an M1A.
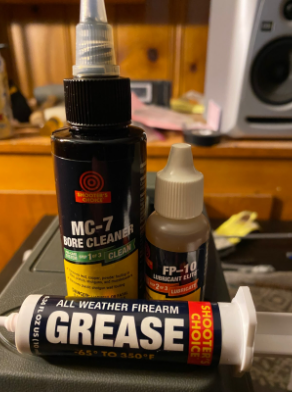
What Cleaning Solvent and Lube Should I Use For My M1A?
Realistically, you can probably use any brand of CLP or bore cleaner on your M1A. However, the guys at Springfield specifically recommend using Shooter’s Choice in the M1A manual. I’ve always followed this advice myself.
Step 0: Make Sure the Firearm is Unloaded
This should always be your first instinct whenever you pick up any firearm. For an M1A, it’s as easy as removing the magazine, racking the bolt twice, and looking into the chamber to ensure it’s clear.
Step 1: Clean Your Barrel and Chamber
Here’s another unique quirk about the M1A: you clean it upside-down. This prevents any solvent from running through the gas block and into the recoil system.
Cleaning an M1A barrel is pretty simple. First, open the bolt. Then, place 3 drops of bore cleaner onto a cleaning patch. Run the patch through the barrel to apply the solvent.
Give it a few minutes to penetrate any gunk that is built up inside your barrel. Then, run a bore brush through your barrel. You can also apply some bore cleaner directly to your brush as well.
Give your barrel a few good scrubs with your bore brush. Then, run a patch through your barrel to collect any fouling that you’ve broken free.
Repeat these steps until your patches come through clear. Then, you’re ready to move on to the next step.
Step 2: Clean Your Chamber
The M14 platform (including all M1As) is its own animal, and requires some specialized tools. One of them is a ratcheting chamber brush. These tools make it significantly easier to remove fouling from the inside of your rifle’s chamber. Just apply a small amount of solvent to the brush and twist it inside the chamber to get rid of any built-up gunk.
Even if you don’t have one of these brushes, you can clean your M1A with a little ingenuity and some extra effort. First, feed an empty patch hoop through your barrel with a cleaning rod.
Once it exits the chamber, apply some bore cleaner to a 12 gauge shotgun pad and feed it through the patch hoop. Then, pull backwards into the chamber to apply oil and scrub away some grime. It’s not perfect, but it definitely works in a pinch.
Step 3: Clean Your Gas Piston
Ready for what might be the most physically difficult part of cleaning your M1A? To access your gas piston, you’re going to need to remove your gas cylinder plug. It looks like this.
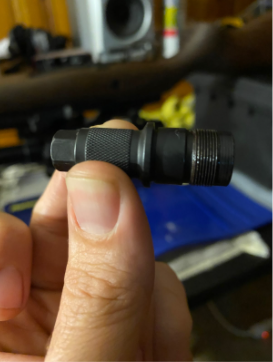
While he may not look like that big of a challenge, it can be a bit of a hassle to remove them. To do it, you’re going to need a hex head socket ratchet. If you have a vise, use it to hold your rifle steady while you apply pressure. With enough elbow grease, you should be able to generate the torque necessary to remove it.
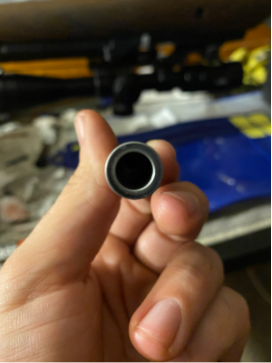
Once you get the plug out, clean it of any fouling. Make sure you clean along the threads and inside the hollow center of the plug.
Next, clean out your gas piston. The exterior of the M1A gas piston doesn’t generally get as dirty as the interior of it. Make sure you thoroughly clean the interior of the gas piston!
Once you’ve cleaned your piston, replace it. Then, apply some grease to the threads of your plug and screw it back into place to seal the gas chamber. The grease will make future disassembly significantly easier, although it will also attract some grime.
Step 4: Apply Grease
At this point, your M1A rifle is now clean. Congrats!
However, your job isn’t done yet. You’re going to want to apply some lubrication to any moving metal-on-metal surfaces. In general, this means oil for anything that rotates and grease for anything that slides.
First, you’re going to want to apply some grease onto the grooves where the barrelled action contacts the receiver and slides backwards to rotate the bolt. You’ll also want to apply a thin layer of grease to the top of the bolt as well.
I don’t generally use any gun oil on my M1A. However, I live in a pretty dry climate where I don’t need to worry about moisture. If you live anywhere outside of the American Southwest, you may want to run a single patch of oil through your barrel to help prevent moisture buildup. You should also do this whenever you plan on leaving the rifle in storage long-term.
Are there any firearms you’d like a cleaning guide for? Let us know on social media!
RELATED STORIES